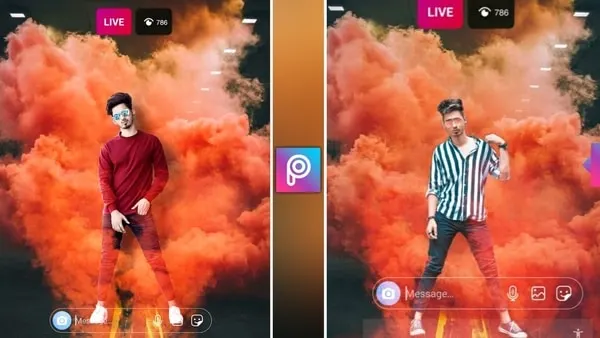
In this comprehensive guide, we will walk you through the process of editing a picture of your face into a Colored Smoke Effect in PicsArt. Whether you’re a beginner or an experienced editor, this step-by-step tutorial will help you achieve a professional-looking result. Let’s dive in!
Introduction to PicsArt
PicsArt is a versatile photo editing app available on both Android and iOS platforms. It combines powerful editing tools with an intuitive interface, making it accessible for users of all skill levels. With PicsArt, you can apply filters, create collages, draw on photos, and add a wide range of effects, including the popular colored smoke effect.
Why Choose the Colored Smoke Effect?
The colored smoke effect adds a dramatic and artistic flair to your photos. It’s a great way to make your images stand out on social media or in your personal collection. By overlaying vibrant smoke effects, you can create a sense of movement, mystery, and creativity. Plus, it’s a fun project that allows you to experiment with different colors and styles.
Step-by-Step Guide to Creating a Colored Smoke Effect in Picsart
Step 1: Download and Install PicsArt
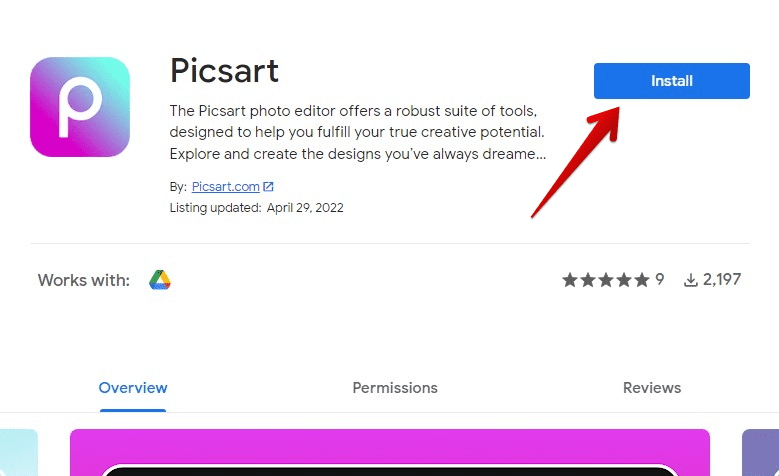
Before you begin, make sure you have PicsArt installed on your device. You can download it from the Google Play Store for Android or the App Store for iOS. Once installed, open the app and sign in or create an account if you don’t already have one.

Step 2: Select Your Photo
To start editing, tap on the plus (+) button at the bottom of the screen. This will open the editing menu. Select “Edit” and choose the photo of your face that you want to apply the colored smoke effect to. Make sure the photo is clear and well-lit for the best results.
Step 3: Prepare the Photo
Before adding the smoke effect, it’s important to prepare your photo by adjusting the basic settings:
- Crop and Resize: Use the crop tool to frame your face correctly. PicsArt offers various aspect ratios; choose the one that best suits your needs.
- Adjust Brightness and Contrast: Tap on the “Tools” icon and select “Adjust.” Here, you can tweak the brightness, contrast, and saturation to ensure your photo has the right balance.
- Smooth Skin: If needed, use the “Beautify” tool to smooth your skin and remove any blemishes.
Step 4: Add the Smoke Effect
Now that your photo is ready, it’s time to add the colored smoke effect. Follow these steps:
- Open the Effects Menu: Tap on the “Effects” icon at the bottom of the screen. This will open a wide range of filters and effects.
- Choose the Smoke Effect: Scroll through the effects until you find the “Brush” category. Look for the “Smoke” brushes and select one. PicsArt offers different styles of smoke brushes, so feel free to experiment until you find one that you like.
- Adjust the Brush Settings: Once you’ve selected a smoke brush, you can adjust its size, opacity, and color. Tap on the brush settings icon to make these adjustments. Choose a color that complements your photo. You can use multiple colors to create a more dynamic effect.

Step 5: Apply the Smoke Effect
- Draw the Smoke: Use your finger or a stylus to draw the smoke effect around your face. You can create swirls, puffs, and trails of smoke. Vary the opacity and size to add depth and realism.
- Layer the Smoke: For a more intricate effect, layer multiple smoke brushes with different colors and opacities. This will give the appearance of dense, swirling smoke.
Step 6: Fine-Tune the Effect
After applying the smoke effect, take some time to fine-tune your image:
- Eraser Tool: Use the eraser tool to clean up any areas where the smoke effect overlaps with your face in an unwanted way. This will help to create a more polished look.
- Blend Modes: Experiment with different blend modes to see how they affect the interaction between the smoke and your photo. You can find blend modes in the layer settings.
Step 7: Add Final Touches
To complete your edit, consider adding some final touches:
- Filters: Apply a filter to unify the colors and tones in your image. PicsArt offers a variety of filters that can enhance the overall look of your photo.
- Text and Stickers: Add text or stickers to personalize your image. PicsArt has a vast library of fonts and stickers that you can use to add a unique touch.
Step 8: Save and Share
Once you’re satisfied with your edit, tap the checkmark to apply the changes. Save your photo by tapping the download icon. You can then share your creation directly from PicsArt to social media platforms like Instagram, Facebook, and Twitter.
Tips for a Professional-Looking Smoke Effect
- Experiment with Colors: Don’t be afraid to mix and match different colors of smoke. Complementary colors can create a striking contrast, while analogous colors can offer a more harmonious look.
- Use Multiple Layers: Layering different smoke brushes can add depth and complexity to your effect. Play around with various sizes and opacities to achieve the desired look.
- Blend Seamlessly: Use the eraser tool and blend modes to seamlessly integrate the smoke effect with your photo. This will help to avoid a “pasted on” look.
- Pay Attention to Lighting: Ensure that the lighting in the smoke effect matches the lighting in your original photo. This will make the effect look more natural and believable.

Troubleshooting Common Issues
The Smoke Looks Unnatural
If the smoke effect looks unnatural, try the following:
- Adjust Opacity: Lower the opacity of the smoke to make it look more transparent and realistic.
- Blend Modes: Experiment with different blend modes to see which one best integrates the smoke with your photo.
- Erase Carefully: Use the eraser tool to refine the edges of the smoke and remove any parts that don’t fit well with the background.
The Colors Don’t Match
If the colors of the smoke don’t match your photo, consider these tips:
- Color Adjustment: Use the color adjustment tools in PicsArt to tweak the hue, saturation, and brightness of the smoke.
- Filters: Apply a filter to the entire photo to unify the colors and tones.
The Effect Is Too Overwhelming
If the smoke effect is too overwhelming, try to:
- Reduce Size: Decrease the size of the smoke brush to create a more subtle effect.
- Use Sparingly: Apply the smoke effect to specific areas rather than covering the entire photo.
Conclusion
Editing a picture of your face into a colored smoke effect in PicsArt is a fun and creative process that can yield stunning results. By following the steps outlined in this guide, you can transform your photos into eye-catching works of art.
Remember to experiment with different brushes, colors, and techniques to find what works best for you. With practice, you’ll be able to create professional-looking edits that stand out on any platform. Happy editing!
